

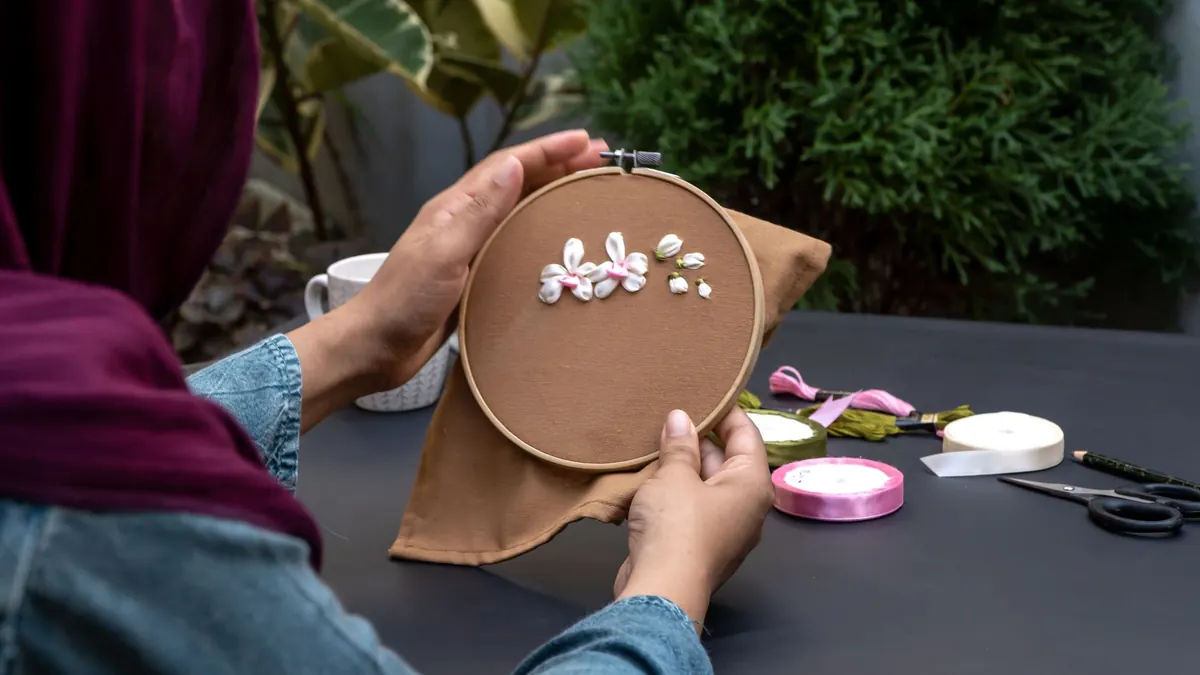
There is a moment, usually about a week after you buy your first pattern, when the whole thing stalls. The design is chosen, the floss is bought, and the hoop sits on the table with nothing in it. That pause has less to do with talent than with a handful of small decisions nobody explains: how big the hoop should be, what fabric belongs inside it, which needle matches which thread. Settle those once and the stitching becomes the easy part. What follows is the checklist worth working through before you thread a needle.
Pick the hoop to fit the stitching, not the wall
The instinct is to buy one big hoop, hoop the whole design, and never move it. Resist that. A hoop that is too large is hard to keep evenly tensioned, and slack fabric is the single most common reason a beginner's satin stitches sag and their lines wobble.
Aim for the smallest hoop the design fits into, with roughly an inch of clear margin on every side. For a first project that usually means 5 or 6 inches (13–15 cm) in diameter. Wooden hoops are pleasant to work with but check the inner ring for rough patches and sand them smooth, and be careful with dark or hand-dyed wooden hoops against pale fabric. Plastic hoops have a small ridge on the inner ring that grips the cloth, which genuinely helps when you are learning to tension.
If your design is bigger than the hoop, you will move it as you go. That is normal and not a failure. Just plan where the hoop will sit for each section so you are not stitching over fabric that has already been stretched.
Two habits worth forming early
Wrap the inner ring with a strip of cotton tape or bias binding if fabric keeps slipping. And take your work out of the hoop between sessions on long projects, because fabric left stretched for months develops creases that are stubborn to press out.
Fabric: the choice beginners underestimate
You can stitch on almost anything, but not everything is kind to a beginner. A closely woven cotton — quilting cotton, cotton poplin, or a cotton-linen blend — holds stitches well, does not fray too aggressively, and lets you see your marks. Avoid stretchy jersey and loose, slubby weaves for a first project; both will fight you.
Cut the piece at least two inches larger than the hoop on all sides. That spare margin is what your hands hold and what the hoop grips, and without it the fabric pulls out mid-stitch.
How to hoop without distorting the design
- Loosen the screw on the outer ring almost completely.
- Lay the fabric over the inner ring, centred on your design, and place the outer ring on top.
- Press down evenly with the heel of your hand before tightening anything.
- Tighten the screw a little, then tug the fabric gently at the edges, working around the circle like you would tighten a drum skin.
- Finish tightening. The surface should feel firm, with no give when you tap it, and the weave should still look square rather than pulled into a circle.
Needles: match the needle to the fabric, then the thread
Embroidery, or crewel, needles have a long eye and a sharp point. A pack of assorted sizes will cover most early projects; sizes 3 to 5 suit medium cotton with two or three strands, while sizes 7 to 9 are better for fine detail on tightly woven cloth. For counted work on evenweave or Aida, use a tapestry needle with a blunt tip so it passes between the threads instead of splitting them.
The test is simple: the needle should make a hole just large enough for the thread to pass through without dragging. If you have to tug, go up a size or use fewer strands. Buy a few spare needles in your favourite size — they bend, they get lost in the sofa, and hunting for one kills momentum.
Floss and how much to buy
Standard six-strand cotton floss is the workhorse, and it is divisible, which means one skein covers a lot of ground. Most line work looks best with two strands; three gives more coverage on heavier fabric; one strand is for fine shading and small lettering. Separate the strands one at a time rather than pulling them all at once, and let the thread hang loose for a moment so it can untwist before you thread up.
Work with lengths no longer than about 18 inches (45 cm). Longer thread shreds against the fabric and tangles, and you will spend more time unpicking than stitching.
Buying sensibly
- Buy two skeins of your dominant colour; dye lots vary slightly between batches.
- Keep bobbins or a simple organiser so colours stay labelled.
- Note the brand and shade number in a notebook; matching a colour later is far easier with the number than with a memory.
Transfer methods, ranked by fuss
You need the design on the fabric before you stitch, and there are several honest ways to do it.
Held up to a window or on a light box is the cheapest and works beautifully on light, thin fabric. Tape the pattern to the glass, tape the fabric over it, and trace with a water-soluble pen. Test the pen on a scrap first: some marks fade with heat and reappear in cold, and a hot iron can set them permanently.
Stick-and-stitch printed patterns are the kindest option for a first project. You stitch straight through a soluble printed sheet that rinses away afterwards. They cost a little more and work well on dark or textured fabric where tracing is hopeless.
Iron-on transfer pencils are cheap and reusable, but remember the design transfers in mirror image, so draw it reversed on tracing paper first.
Dressmaker's carbon and a stylus suits thicker fabric, though the lines can smudge. Use sparingly and lightly.
Whichever you choose, leave the marks visible enough that you can still see them under a strand or two of floss. Over-faint lines are a false economy.
The pre-stitch checklist
Ten minutes here saves a lot of unpicking.
- Design transferred and clearly readable, with margin around it.
- Fabric cut two inches larger than the hoop and pressed flat.
- Hoop clean, screw working, inner ring wrapped if needed.
- Needle size tested on a scrap of the same fabric.
- Strands separated and thread cut to a comfortable length.
- Small sharp scissors, a spare needle, and good light within reach.
- Design reference propped up where you can see it without moving the hoop.
- Hands washed — oils from your fingers dull light-coloured floss surprisingly fast.
Before you commit the first stitch
Start with a small section of simple line work rather than the trickiest corner of the design. Anchor your thread with two or three tiny back stitches under where the line will be, or a small knot you will later cover, and take the first few stitches slowly enough to notice how the thread sits on the fabric. If it looks twisted, drop the needle and let it dangle; the thread will unwind itself.
Expect your first hoop to look handmade rather than printed. That is not a problem to fix. Keep the piece even when you can see where your tension wavered, write a line in a notebook about which needle and how many strands you used, and start the next one with that information already in hand. The second hoop will be better, and the third will feel like something you know how to do.
Photo: Mohamed Rizly / Pexels